Creating Upsells
SuiteOp offers 4 types of upsells to add to your Guest Portal: Advertisements, Requests, Purchases, and Postcards. Here we’ll walk you through how to set up each of these upsells and share helpful tips for creating the best guest experience.
Steps to Create a New Upsell
Section titled “Steps to Create a New Upsell”The upsell editor opens as a side drawer with two tabs — Details and Assignment — and a single Create button at the footer.
-
Go to Portals → Settings → Upsells
-
Click New Upsell on the right (or Browse templates to start from a pre-built upsell — see Starting from a template)
-
Select whether you want to manually create or import from a third party
-
Choose upsell type and give it an internal nickname (only your team sees this)
-
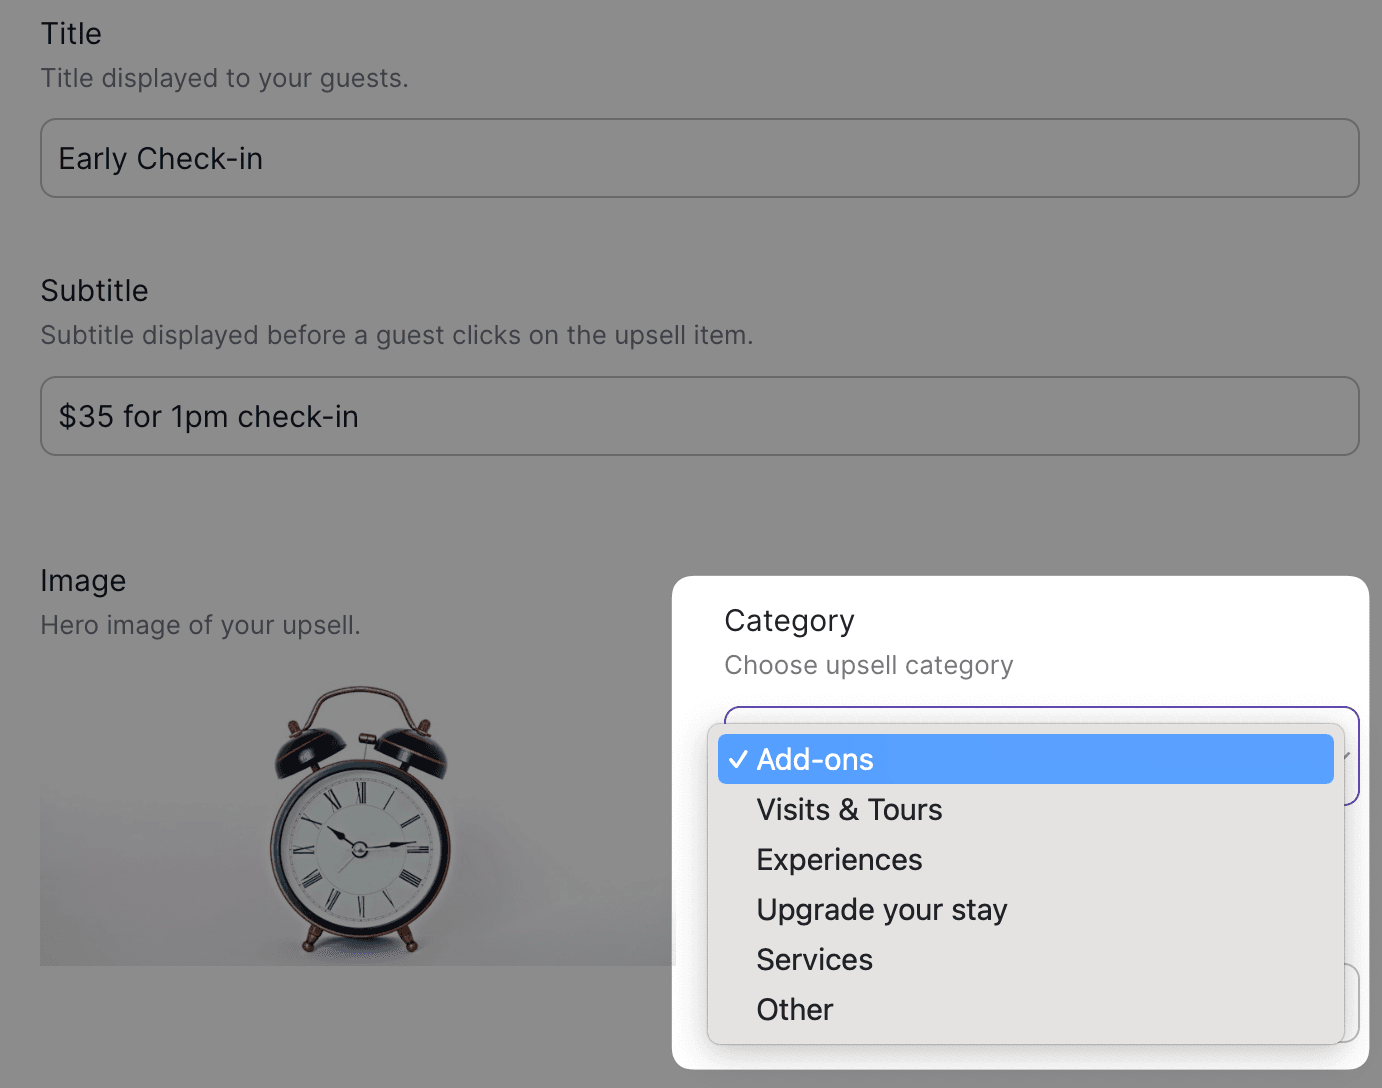
Fill in the guest-facing information. Title, description, and cover image can all be set on creation — there are no more “configure after creation” placeholders. Title and description support all 13 languages via the multi-language editor.
-
Add your upsell to a Category so guests can navigate easily
-
Switch to the Assignment tab to pick the Guides or Properties this upsell applies to. Scope changes auto-save as you tick boxes — no separate “Save Assignment” button to remember.
-
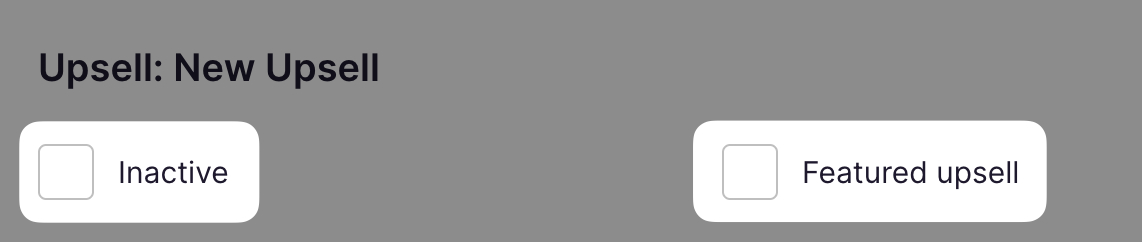
Back on the Details tab, set the upsell as Active with the toggle at the top. To pin it to the home page of the Portal, also mark it as Featured.
-
Click Create at the footer when everything is filled in.
Starting from a template
Section titled “Starting from a template”If you’d rather not configure an upsell from scratch, the Browse templates button next to New Upsell opens SuiteOp’s template gallery.
-
Use the search box to filter templates by name or description (matches against the localized text shown to guests)
-
Narrow the list with the Type and Category filters
-
Click any card to open a preview dialog showing the full template before adding it to your library
-
Confirm to create a new upsell pre-populated from the template — you can still rename, reprice, or tweak any field before saving
Browsing & managing the upsells list
Section titled “Browsing & managing the upsells list”The upsells list supports search, filtering, sorting, and bulk actions to make managing larger catalogs easier.
Filters and sorting
Section titled “Filters and sorting”- Search matches upsells by nickname.
- Status filters by Active / Inactive.
- Type filters by upsell type (Advertisement, Request, Purchase, Postcard).
- Category filters by the category you assigned when creating the upsell.
- Sort by lets you order by Price or Updated (ascending or descending).
Filters and sort selections are reflected in the page URL, so you can bookmark or share a pre-filtered view.
Bulk actions
Section titled “Bulk actions”Tick the checkbox on one or more rows to reveal the bulk actions toolbar:
- Activate — flips the selected upsells to Active
- Deactivate — flips them to Inactive
- Delete — permanently removes the selected upsells (asks for confirmation)
A toast confirms how many upsells succeeded; if any failed, a follow-up toast shows the failure count so you can investigate.
Types of Upsells
Section titled “Types of Upsells”Advertisements
Section titled “Advertisements”You can create either custom advertisements or pull them from a third party, like Viator or Mount. Depending on the integration that you use or the advertisement that you create, you may be able to benefit from affiliate commissions.
Steps to set up advertisements
Section titled “Steps to set up advertisements”-
To start getting affiliate commission from Viator and Mount when your guests book through an upsell, you’ll need to** first create affiliate accounts** and link these in Integrations
-
In Upsells, select Add new
-
Select Import from [third-party]
-
Search in your city
-
Click the + sign to add upsells that would appeal to your guests
-
In your Upsells list you can go back and edit upsells you’ve added to adjust information and set as Active and Featured
Requests
Section titled “Requests”Requests are upsells that require your approval and can be either paid or free. Free requests are useful for amenities you want to offer at no cost, but for which you would like your guests to actually request it so that you can deliver it appropriately. Paid requests require guests to provide payment information — this places an authorization hold on their card for 5–7 days. When you approve or deny the request, you can capture or release the hold directly from SuiteOp using the Charge Detail Sheet.
New requests send you a notification and can be accessed through the reservation’s Charges & Payments section.
Purchases
Section titled “Purchases”Purchase upsells are great for anything you know you can always deliver to your guests. You can set these up as fixed price or quantity based. As soon as a guest purchases a purchase upsell, their card is charged through your configured payment provider and you can see and track those charges in the reservation’s Charges & Payments section.
Postcards
Section titled “Postcards”The last type of upsell is a Postcard. This allows guests to send a physical postcard to any address in the US for free, handled completely by us. You can create your own branded templates for guests to choose from and add a watermark of your logo to be added if a guest uploads their own photo. For more details see our guide here.
Choosing a Payment Account
Section titled “Choosing a Payment Account”For paid upsells (purchases and requests), you need to assign a payment account that determines which payment provider processes the guest’s payment. SuiteOp supports three providers:
- Stripe — Connect via API keys in Integrations > Stripe. See Stripe Integration.
- JusPay (Hyperswitch) — One-click setup in Integrations > JusPay. See JusPay Integration.
- GuestyPay — Sync from your Guesty account in Integrations > GuestyPay. See GuestyPay Integration.
When creating or editing an upsell, select the payment account in the Details tab under Payment Account. The dropdown shows all active accounts across all providers.
Reordering Upsells You can adjust the order upsells display in your Guest Portal under “Assignment” in your Portal template by dragging and dropping